Available New Ticket Actions |

|
Log Ticket to
If the ‘Sender’ checkbox is selected then the rule will log a new ticket against the user in Revelation whose email address matches the from address of the originating email. Deselecting the sender checkbox will make the Client, End User, Project & SLA drop downs available for use.

Note: if the Find User condition was used then the new ticket will be logged to the user identified in that condition.
Use Template

This action, when used in conjunction with the log ticket action (above) you can have the parser use an existing ticket or workflow template when logging the new ticket.
The top drop down will let you pick the template type and the second drop down will contain the available templates for you to choose from.
Assign To
This action will let you override any assignment steps made in previous actions. The initial option “project Assignees” will assign this ticket to the default project assignees.

Beneath the project assignees you will see all of your internal staff and active queues. Clicking the expand button to the right will convert the drop down into a multi-select so you can Ctrl-click to assign to multiple people or queues.

Set Priority

This action will let you manually set the priority of the new ticket and override the Auto Priority settings configured in Parser Accounts or the default priority set within the applicable project.
Set Type

This action will let you specify the ticket type and sub types of the new ticket. If this is used after the ticket template action it will override the type and sub type settings made by the template.
Set Description
This action will let you configure the details of the ticket description. You can add manual text and insert information from the email itself.
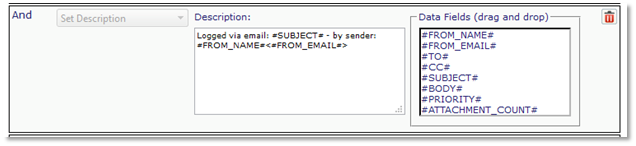
- #FROM_NAME# will add the from name of the originating email
- #FROM_EMAIL# will add the from email address of the originating email
- #TO# will add the email address(s) the originating email was sent to
- #CC# will add the email address(s) the originating email was cc:’d to
- #SUBJECT# will add the subject line of the originating email
- #BODY# will add the message body of the originating email
- #PRIORITY# will add the priority of the originating email
- #ATTACHMENT_COUNT# will add the number of attachments on the originating email
Add Action note
This action will let you configure the details of an action note. You can add manual text and insert information from the email itself.
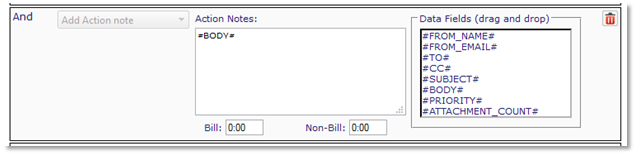
- #FROM_NAME# will add the from name of the originating email
- #FROM_EMAIL# will add the from email address of the originating email
- #TO# will add the email address(s) the originating email was sent to
- #CC# will add the email address(s) the originating email was cc:’d to
- #SUBJECT# will add the subject line of the originating email
- #BODY# will add the message body of the originating email
- #PRIORITY# will add the priority of the originating email
- #ATTACHMENT_COUNT# will add the number of attachments on the originating email
Set Status To

This action will let you set the status of the ticket.
Create New User
This action will let you create a new user at the client and location specified. You can also opt to send this user the standard new user email.

The email display name will become the first and last names for the new user. If no display name is found the email address will be used as the first name and "(Unknown)" as the last name. The email address will be used as the username and primary email for the new user.
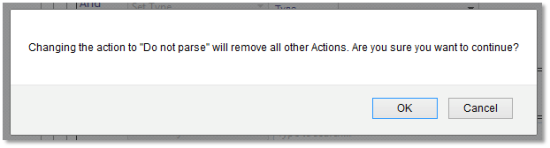
Do not parse

This action will cause all activity on this email to be stopped. If you add this action you will get the pop up message below and when you click OK all previous action added to this rule will be removed.
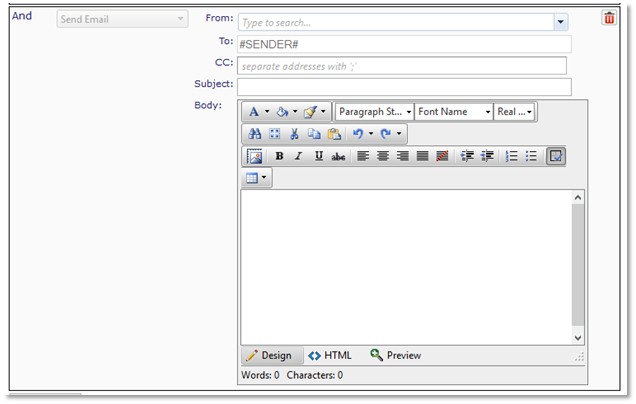
Send Email
This action allows you to configure an email to be sent. If you use the syntax #SENDER# in the To: or CC: fields the email will be sent to the from address of the originating email. You can also add additional email addresses individually.